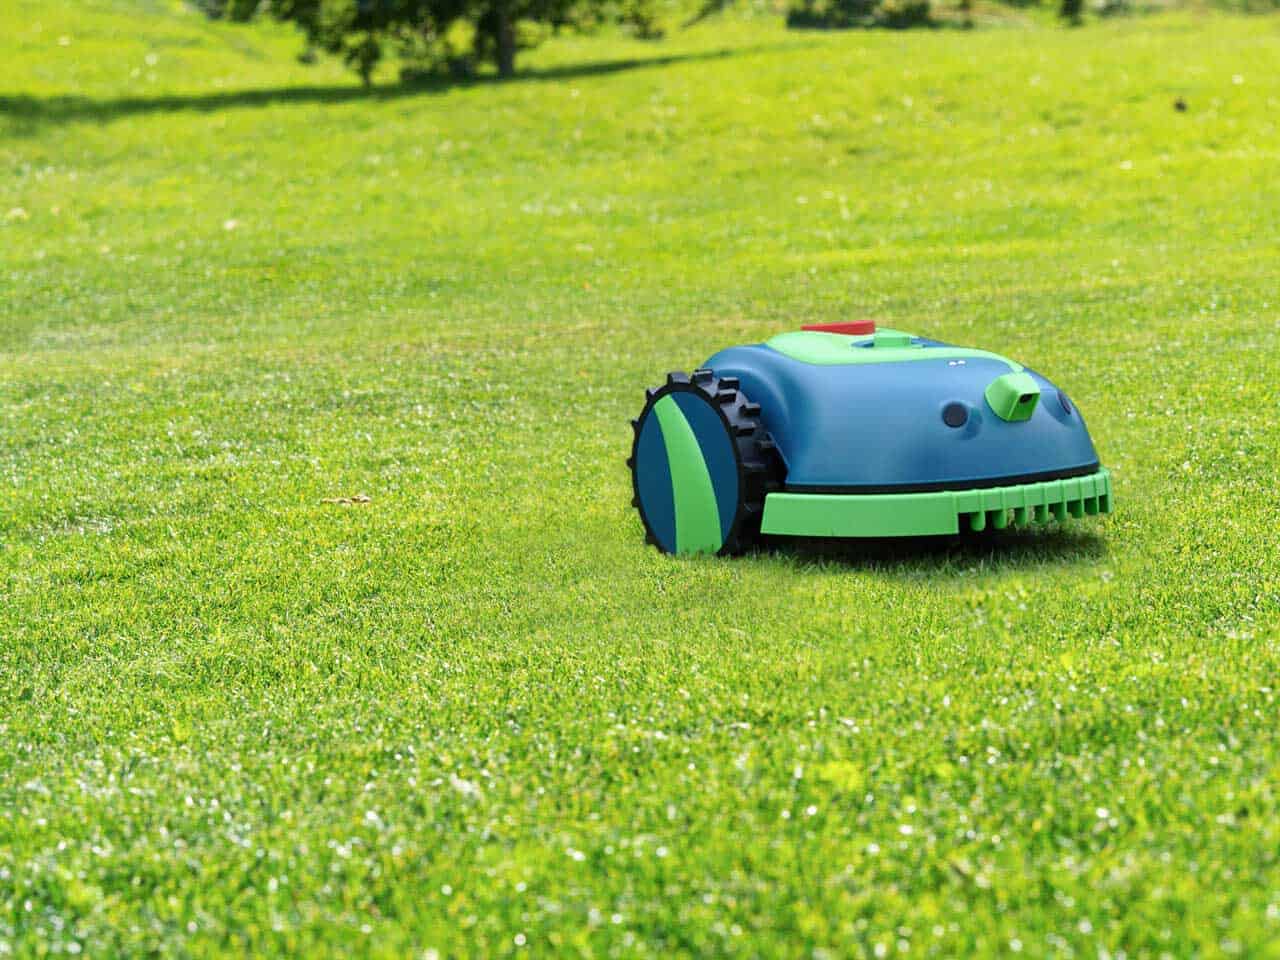
Welcome to HomeBot Ireland! Setting up your robotic lawn mower is simple and straightforward. Follow our step-by-step guide to get your Chomper up and running in no time, ensuring your lawn stays perfectly manicured without any hassle.
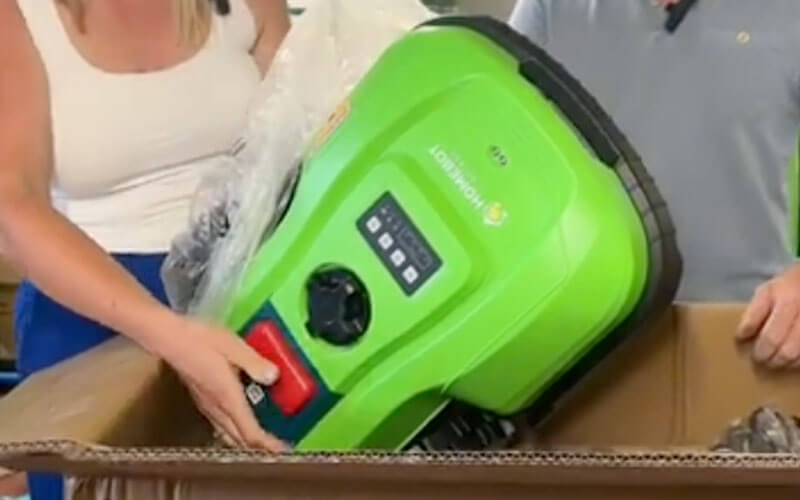
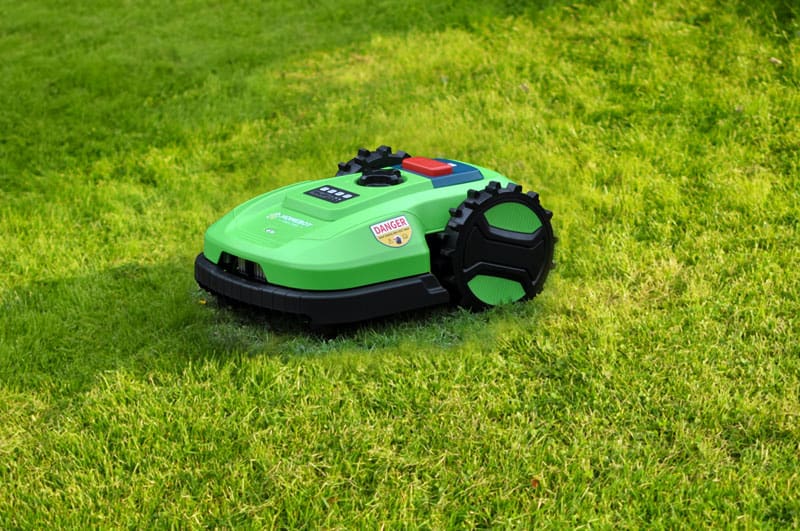
Step 1: Unbox Your Chomper
Carefully unpack your Chomper robot lawn mower and ensure you have all the components:
- Robot unit
- Charging station & pegs to secure
- Power cable
- Boundary wire
- Pegs
- User manual
Step 2: Choose the Ideal Location for the Charging Station
The charging station is the home base for Chomper. Select a location that meets the following criteria:
- Flat, even surface
- Near a power outlet
Step 3: Install the Boundary Wire
The boundary wire defines the area Chomper will mow. Here’s how to install it:
- Lay Out the Perimeter: Plan the perimeter of your lawn and lay the boundary wire accordingly. Ensure the wire forms a complete loop.
- Secure the Wire: Use the provided pegs to secure the wire to the ground. Space the pegs every few feet to keep the wire in place and tight to the ground so Chomper will not cut it.
- Avoid Obstacles: Ensure the wire is placed 30cm’s away from any obstacles such as flower beds, ponds, or play areas.
- Connect to Charging Station: Connect the ends of the boundary wire to the charging station.
Step 4: Power Up the Charging Station
Plug the power cable into the charging station and connect it to a power outlet.
Step 5: Charge Chomper
Place Chomper on the charging station. Allow it to fully charge before its first mowing session. This might take a few hours, depending on the model.
Step 6: Program Your Mower
Use the app or onboard controls to set up your mowing schedule:
- Set Mowing Times: Choose the days and times you want your RoboMow to operate.
- Adjust Cutting Height: Set the desired grass height for your lawn. (Adjust manually on the machine)
Step 8: Regular Maintenance
For optimal performance, regular maintenance is essential:
- Clean Blades: Periodically check and clean the blades to ensure a sharp cut.
- Check the Charging Station: Keep the charging station clean and free from debris.
Troubleshooting Tips
If you encounter any issues during setup:
- No Power to Charging Station: Check the power connection and ensure the outlet is working.
- Chomper is Not Detecting Boundary Wire: Ensure the boundary wire forms a complete loop, there is no breaks and is connected properly.
- Uneven Mowing: Adjust the cutting height and check for obstructions on the lawn.
Follow these steps, and you’ll be on your way to a beautifully maintained lawn with minimal effort. Enjoy your newly found free time and the perfect lawn, courtesy of HomeBot Ireland!
Need Assistance?
Our customer support team is here to help. If you have any questions or need further assistance, please contact our team on 021 4742327.